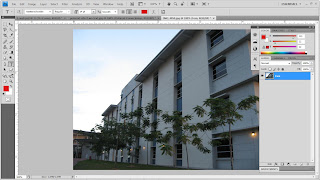
Firstly, I open the FOM building’s picture. I use Quick Selection Tools and I select the sky’s image and then I delete the selection.

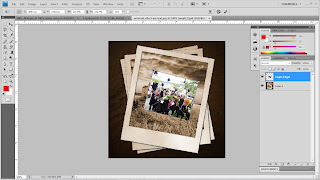
Then, I place a convocation image and I use Free Transforms to adjust the image and resize into the Polaroid’s frame.

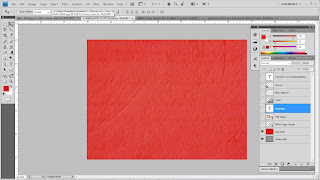
I choose red for the coloring the wall. After that, I use blending options and I choose to overlay the red coloring with the original wall and the opacity is 90%.

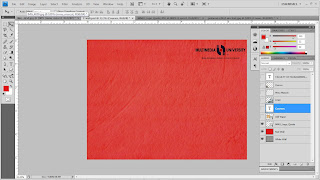
After that, I use blending options and I choose multiply. Now, the white background is disappearing.


0 comments:
Post a Comment